Syteca Desktop Connection Manager
Before account secrets (also referred to as "secrets") can be used to access the required accounts on the corresponding host (e.g. remote) computers, a Windows Client computer needs to be configured (e.g. on a jump server), also known as a PAM gateway (via which users who have the appropriate permissions will be able to use the secrets to access the corresponding accounts by way of Syteca Desktop Connection Manager).
NOTE: PAM seat licenses first need to be assigned to users (on the Users page) for them to be able to use the PAM functionality (i.e. for users to get access to both the Password Management and the Account Discovery pages in the Management Tool, and to Syteca Desktop Connection Manager on a Windows computer used (e.g. on a jump server) to connect to the privileged accounts by using the corresponding account secrets).
NOTE: Syteca Desktop Connection Manager requires .NET Framework 4.8 to be installed on the Client computer (i.e. the computer with Syteca Desktop Connection Manager).
To configure a Windows Client computer that will be used as a computer with Syteca Desktop Connection Manager, do the following:
1. Log in to the Management Tool as a user with the Client Configuration Management permission for Clients.
2. Click the Clients navigation link (on the left).
3. On the Clients page that opens, find the Windows Client that will be used e.g. on the jump server Client computer, and click its name in the Client Name column.
NOTE: A jump server computer is only required if two or more concurrent sessions are required on the Client computer with Syteca Desktop Connection Manager, and it is recommended to use a Windows Server operating system for the correct functioning of Syteca Desktop Connection Manager on a jump server computer.
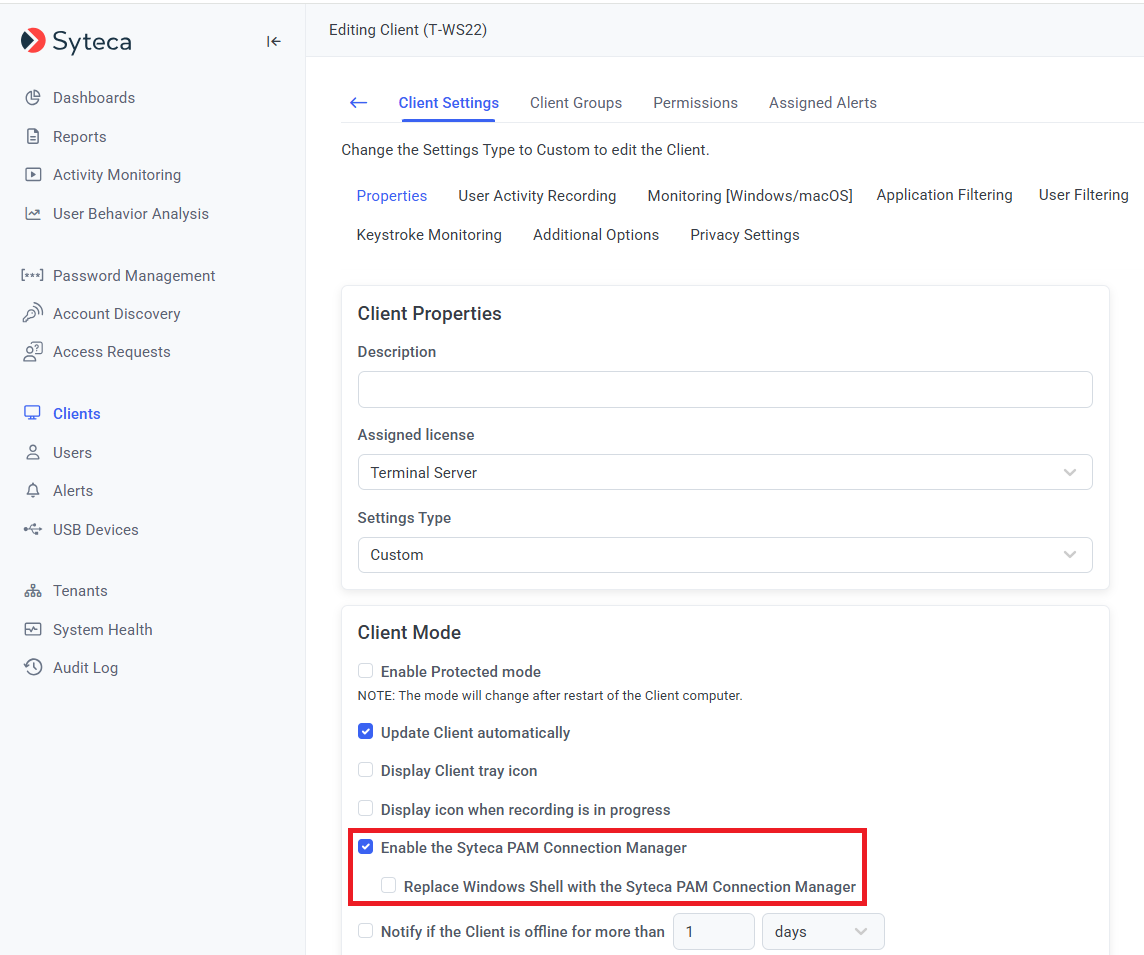
4. On the Properties tab that opens, scroll down to the Client Mode section, and select the following checkbox(es):
• Enable the Syteca PAM Connection Manager checkbox.
• Replace Windows Shell with the Syteca PAM Connection Manager checkbox to optionally only display the open Syteca Desktop Connection Manager window to users (i.e. without the Client computer's desktop).
5. Syteca Desktop Connection Manager is then enabled for use.

NOTE: When using a custom Windows shell, the Syteca Desktop Connection Manager application (shortcut icon) may not be displayed on the desktop, but can be found in the "C:\Users\Public\Desktop" folder.
6. Select the Authentication Options tab, and scroll down to the Two-Factor and Secondary Authentication section, then select the Enable secondary user authentication on login checkbox.
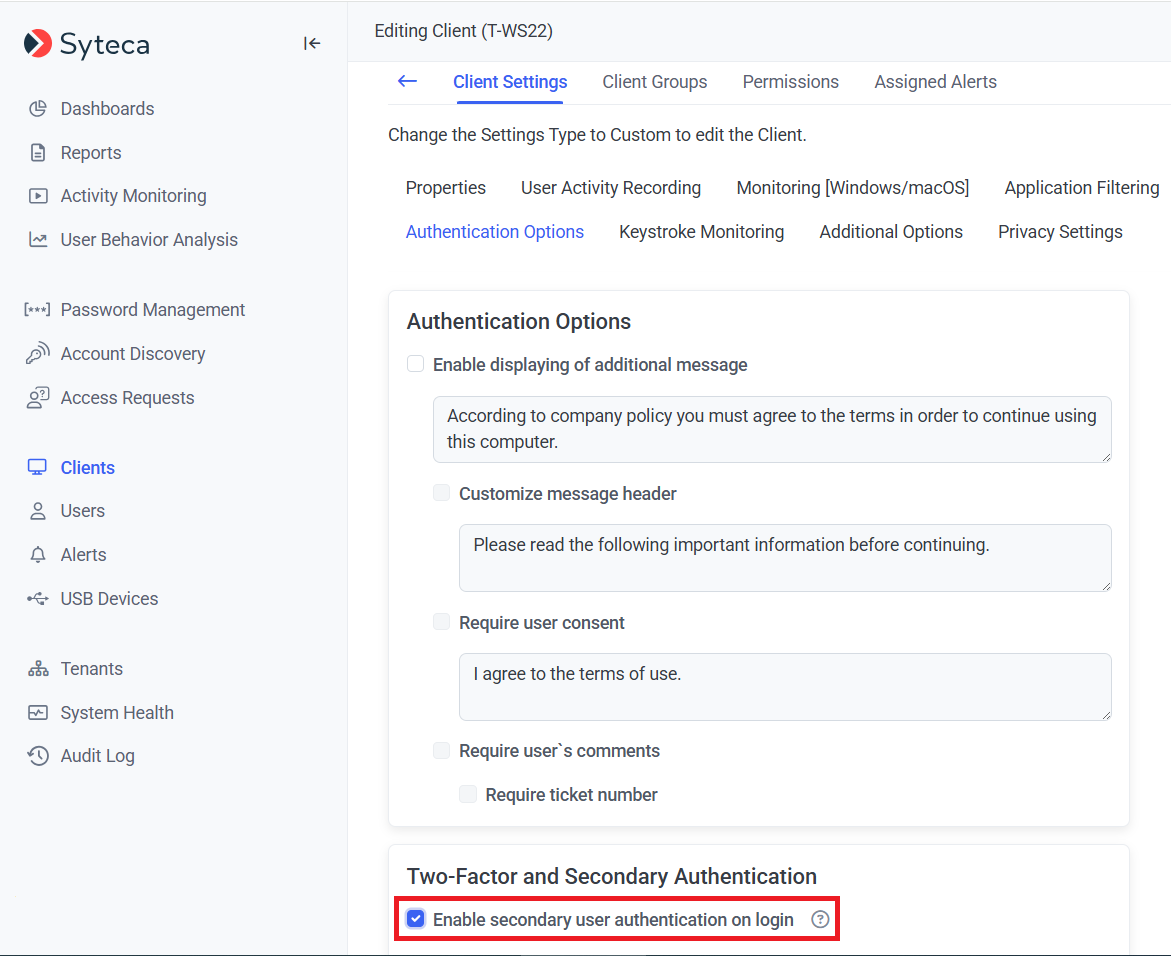
NOTE: It is not required to enable secondary user authentication for Active Directory users.
7. Click the Finish button (in the bottom right of the page).
8. The Client as then configured, from which users can then connect to the accounts in the corresponding secrets by using Syteca Desktop Connection Manager.