Generating Reports
To generate a report by using the Report Generator, do the following:
1. Log in to the Management Tool as a user with the administrative Viewing Monitoring Results permission.
2. Click the Reports navigation link on the left.
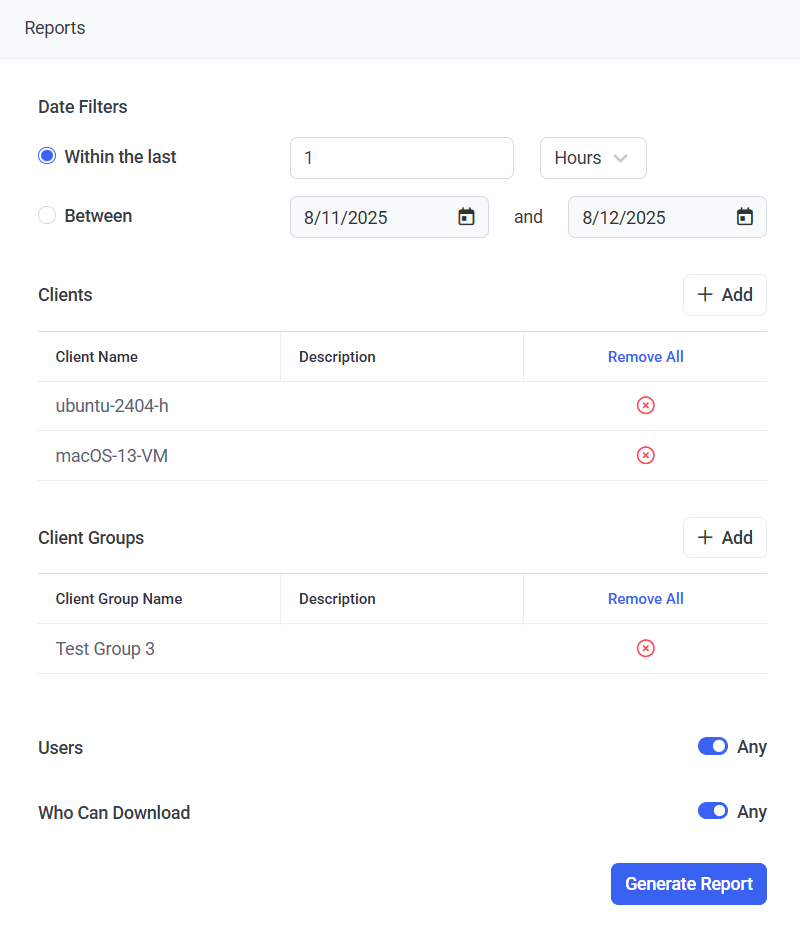
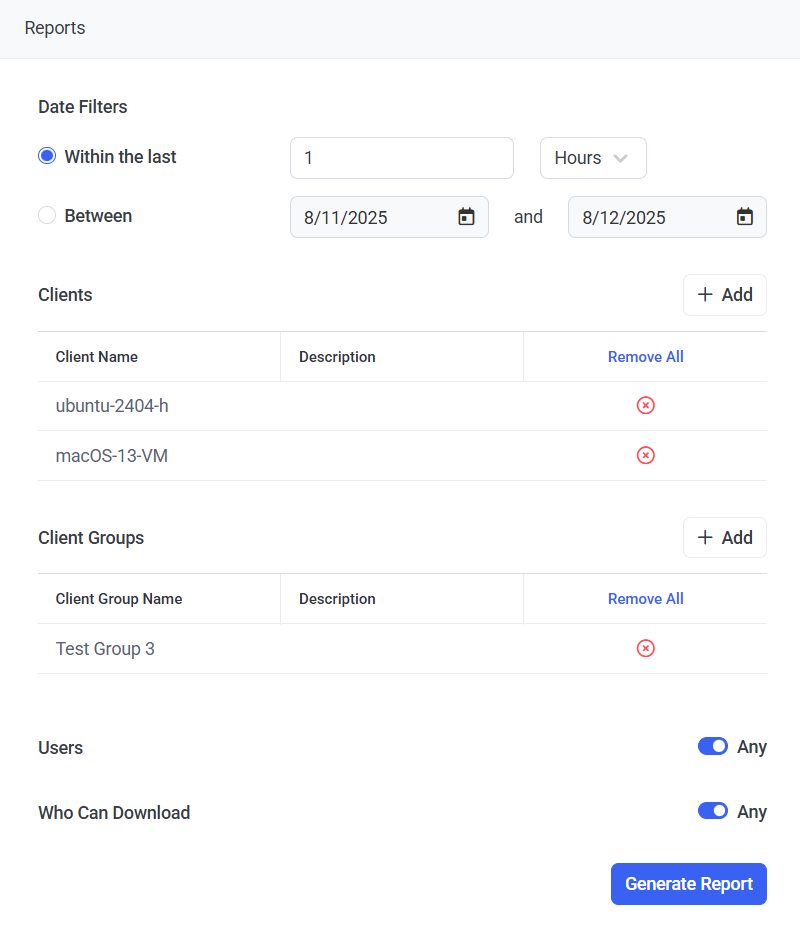
3. On the Report Generator tab, define the report parameters:
• In the Report Type section, select the type of the report and the format required.

• In the Date Filters section, specify a specific time period for which the report is to be generated. The data from the monitored Clients is added for the time period specified. To define the time period, select one of the following options:
- Specify the time period required for the Within the last number of Hours, Days, or Weeks.
- Specify the Between start date and end date of the time period required.
• [For the "Overtime Work Grid" and "Sessions Outside of Work Hours Grid" report types only:] In the Work Hours section, in the Generate For list, select which days of the week are to be included, and then define the work hours required for each day (where all time that users worked outside of the defined work hours will be included in the report).
• In the Clients and Client Groups sections, click the Add buttons, and in the pop-up window that opens, search for and select the checkboxes next to the required Clients and Client groups respectively, and then click Add.
NOTE: To find specific Clients / Client groups, enter their names or a part of their names in the Search box. Only Clients / Client groups for which the user has the Viewing Monitoring Results permission for Clients are listed.
• In the Users section, select the users whose activity will be included in the report:
- Either leave the (default) Any value selected (for the activities of all users to be included in the report).
- Or move the toggle switch slider to the left, and click the Add button, and then in the pop-up window that opens, search for and select the required users, and click Add.
NOTE: To find specific users / user groups, enter their names or a part of their names in the Search box. Only those users whose activities have already been monitored are listed.
• In the Who Can Download section, select the users who will be able to download and view the report:
- Either leave the (default) Any option selected (for all users to be able to download and view the report).
- Or move the toggle switch slider to the left, and click the Add button, and then in the pop-up window that opens, search for and select the required users, and click Add.
NOTE: To find specific users / user groups, enter their names or a part of their names in the Search box.

4. Click the Generate Report button (at the bottom of the page).
5. On the Generation in Progress pop-up window that opens, click Open Generated Reports.
6. On the Generated Reports tab that opens, information about generation of the report is displayed in the first (i.e. top) record in the grid, and the report can be downloaded by clicking the Download (
